
This video can be found at – YouTube
Let’s give this a shot… I thought it’d be fun to try out something new. I created a 3d model of an oven Mitt, and I’m selling them on Sketchfab. See the model below.

But what I wanted to see was if I could 3d scan this kitchen. Then actually bring a character in using the oven mitt inside of unreal engine. I’m going to take you through the process of doing that and we’ll see what the results are. I’m not actually sure how all this is going to turn out, so it could be a complete failure or it could be something kind of interesting. I’m going to use an app on the iPad pro called Polycam. Polycam is a 3d scanning application. You can find more about it on their website here….
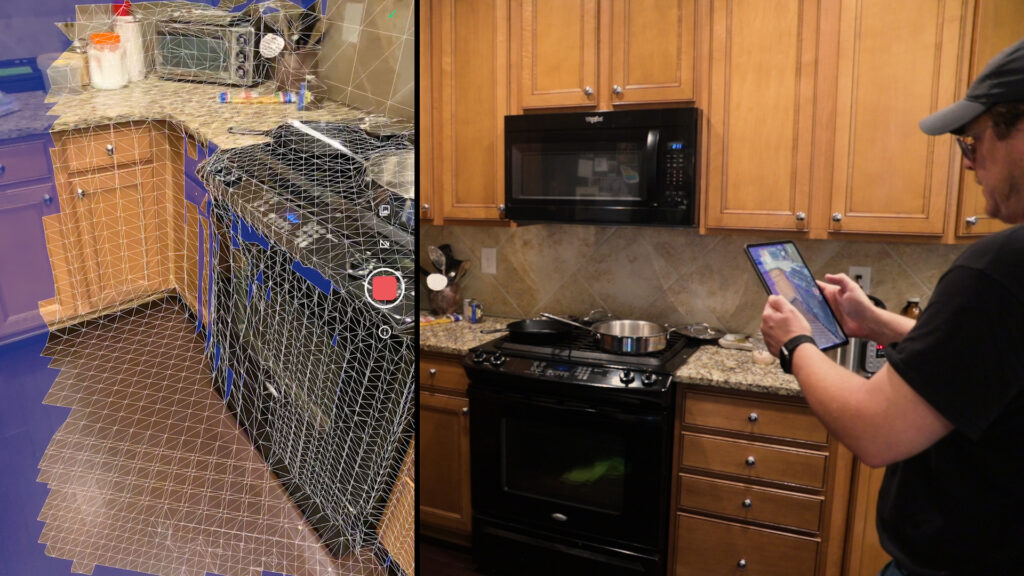
What I’m gonna do is use LIDAR to scan this area, map the textures to that, and then we’ll bring that into unreal engine with a character and all that fun stuff. I know I’m just going to use one camera angle so I will only focus on this one area of the room, but you could scan the entire room.
I’m just going to try to capture just this corner of the kitchen here. I want the one area and oven to be as accurate as possible. Looking for the best textures.
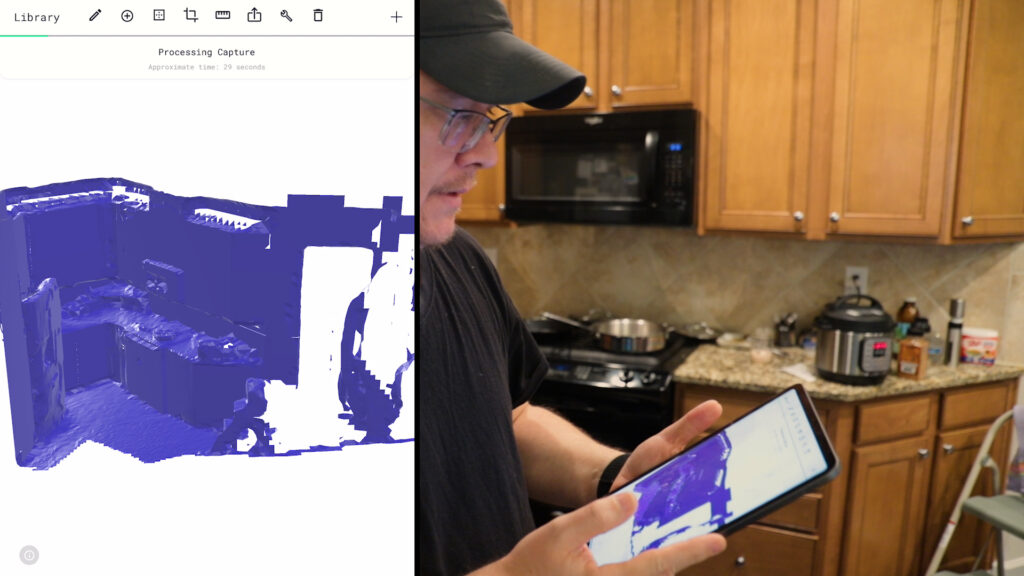
Press record and move around the space. Smooth slow motions. We’ve got our scan here. I’m going to texture this and use the high definition, HD process. This says it’s going to take 29 seconds. We have the processed file here. You can see some of the textures are wonkie. They’re a little blurred out. It’s okay. Let’s try to clean this up a bit. I’m going to do an additional scan onto this and see if we can pick up some of these key areas and we’ll see what it does when I do that. So add scan and just start to recognize the space again.
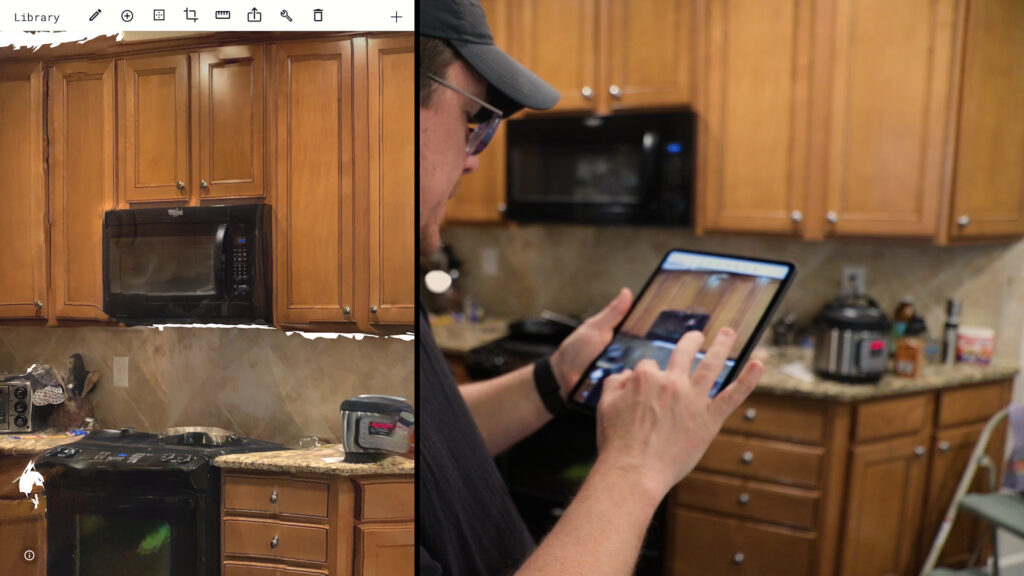
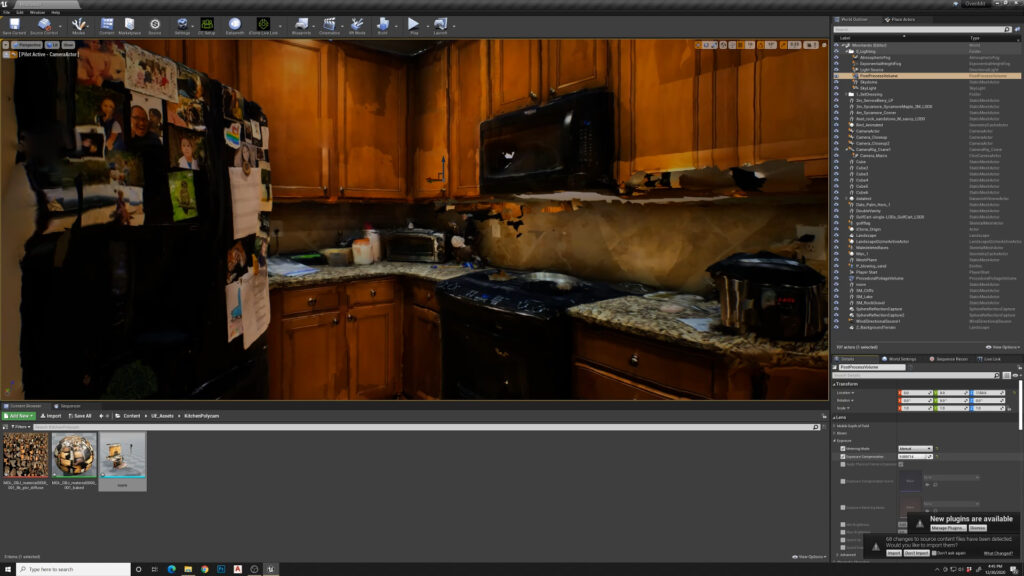
Okay. So now we get the new blue scan on top of the preexisting green scan. Do another hd process, see if it cleans any of that stuff up. If not, it’s okay. We’ll just use this whole processes as learning experience anyway. So we’re done here. Looks like I picked up some more texture here and I get a little bit more definition of these bottles, but still not crisp enough to use as a final model for an animation, but I guess it gives you enough to test it out and see the area in previs. I kind of want to pick up the rest of this refrigerator. I’m going to do one more scan and see if I can just focus on the refrigerator and then we’ll move on. Don’t overthink this whole thing.
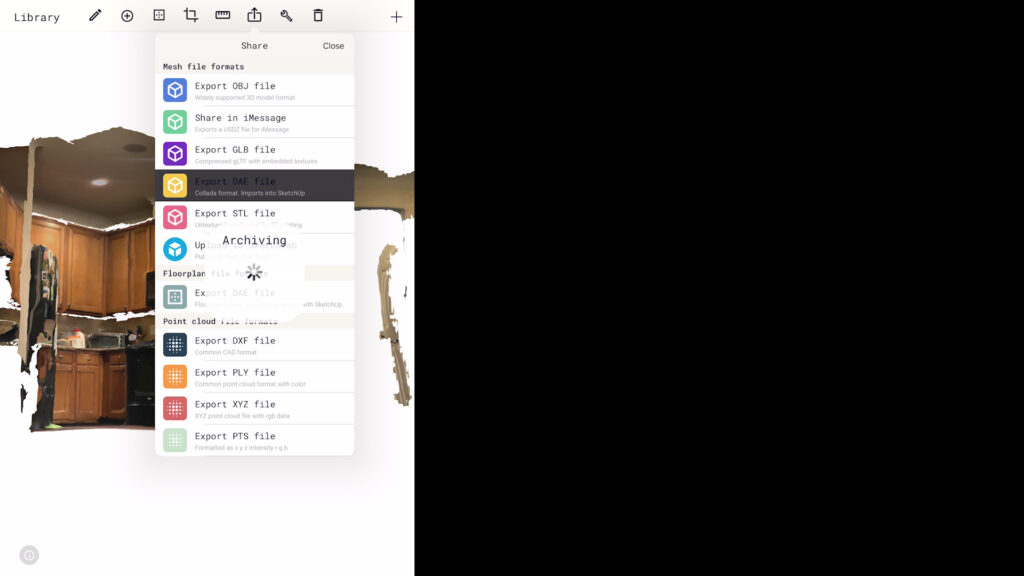
I’m going to try to combine these two scans in Blender. That might be the approach. We’ll see what happens now that we’ve scanned everything. We want to export this. I’m going to export DAE file. Click and just email that file to yourself.
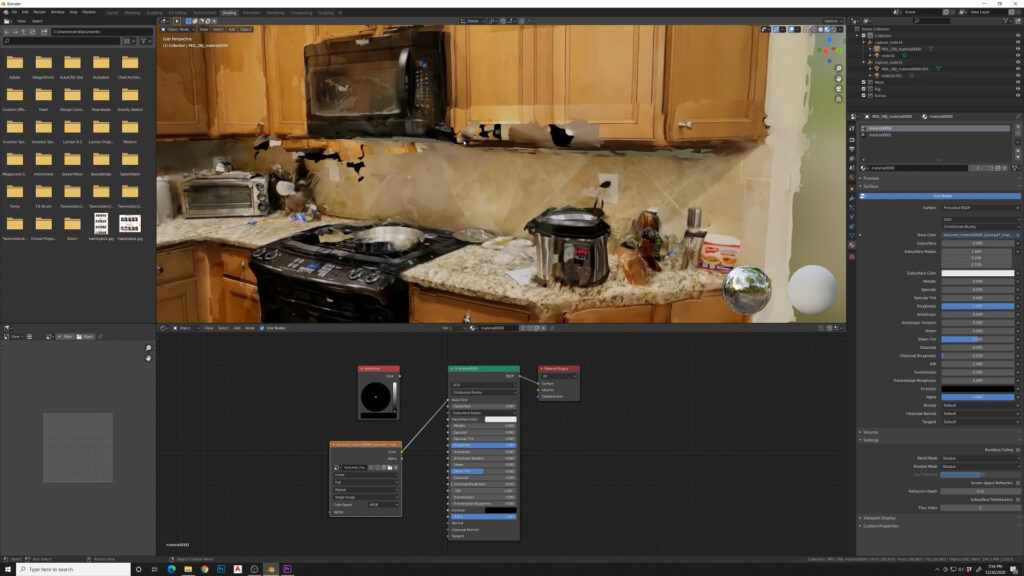
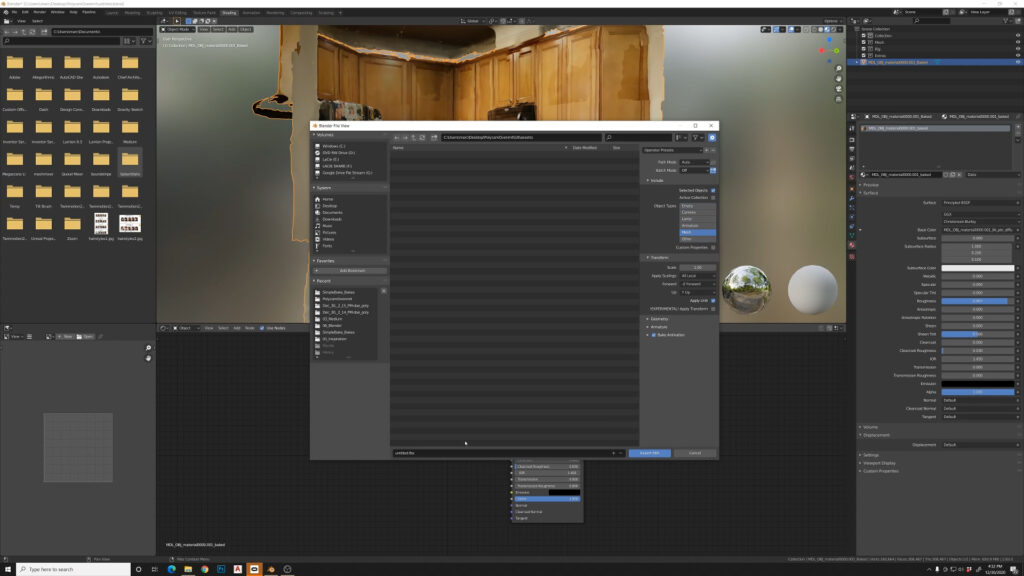
Once you have the file, you can import it into blender and start assigning the materials that were exported with the dae model.
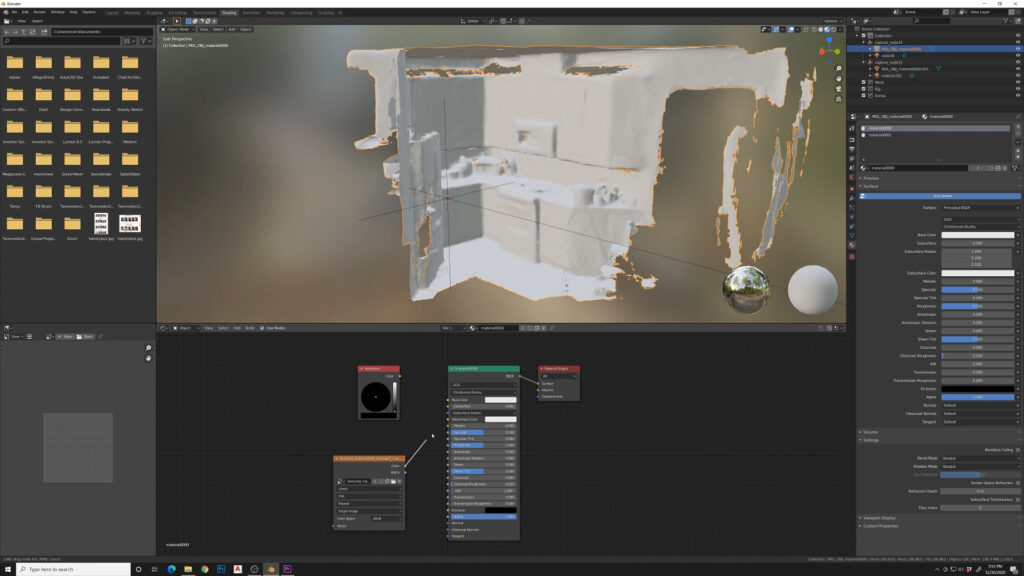
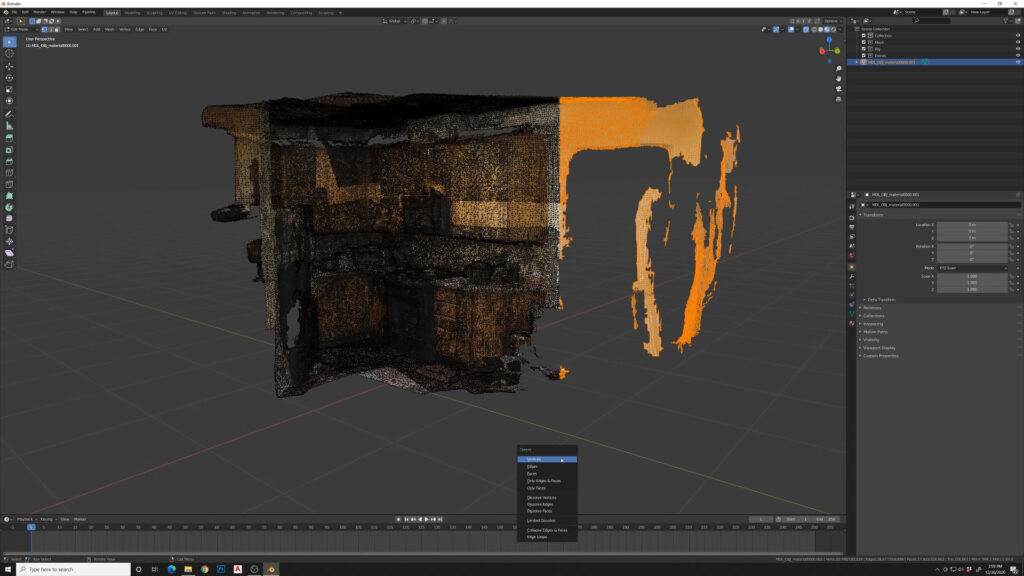
Once I bring these in I usually do some adjustments. I’m going to turn down specular, and I’m going to turn up the roughness a bit on each of these Models. Now I’m just going to clean up a little bit of these vertices. Select these. X and vertices.
Now we’re going to export this an FBX. Selection only, Mesh, export.
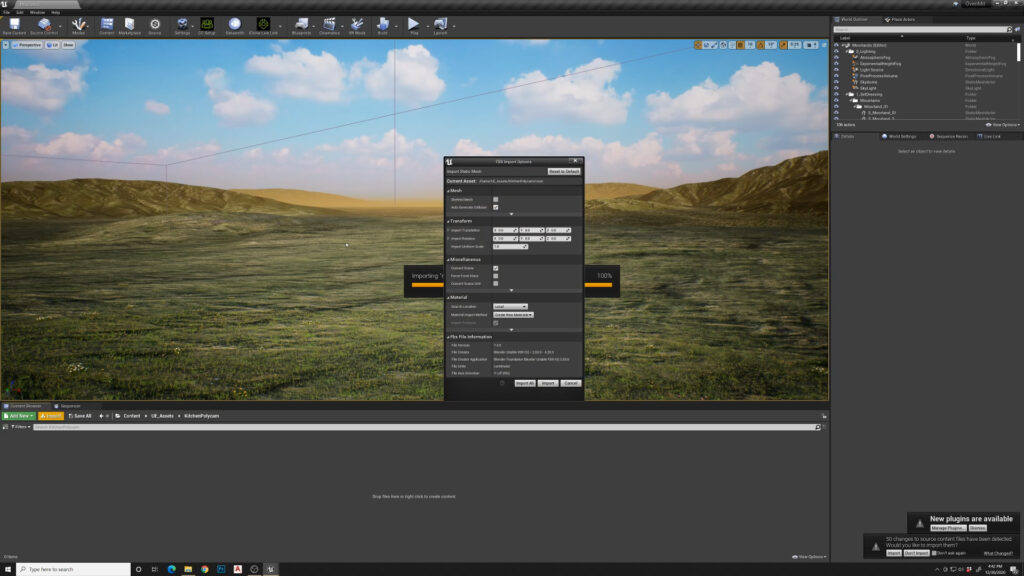
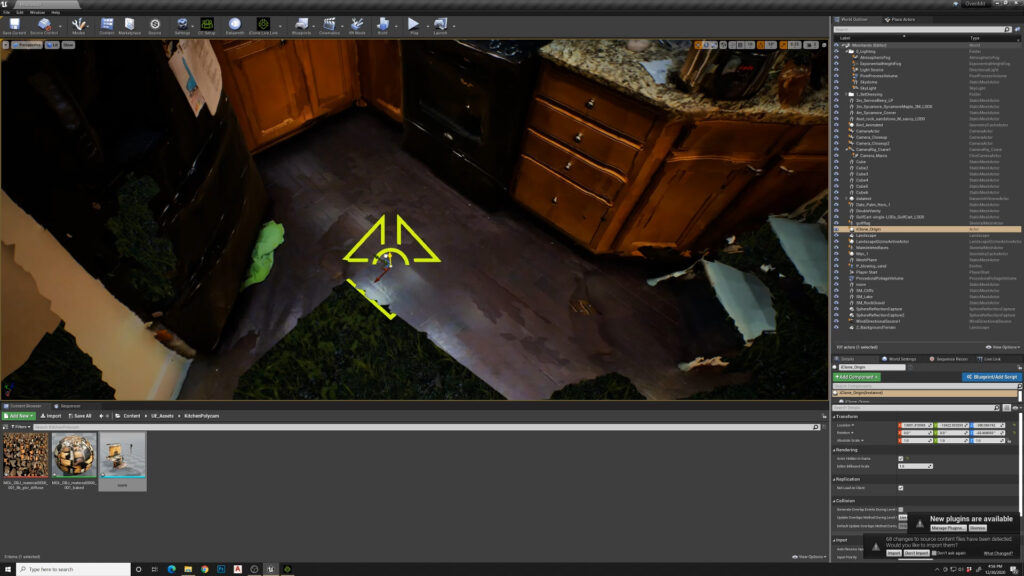
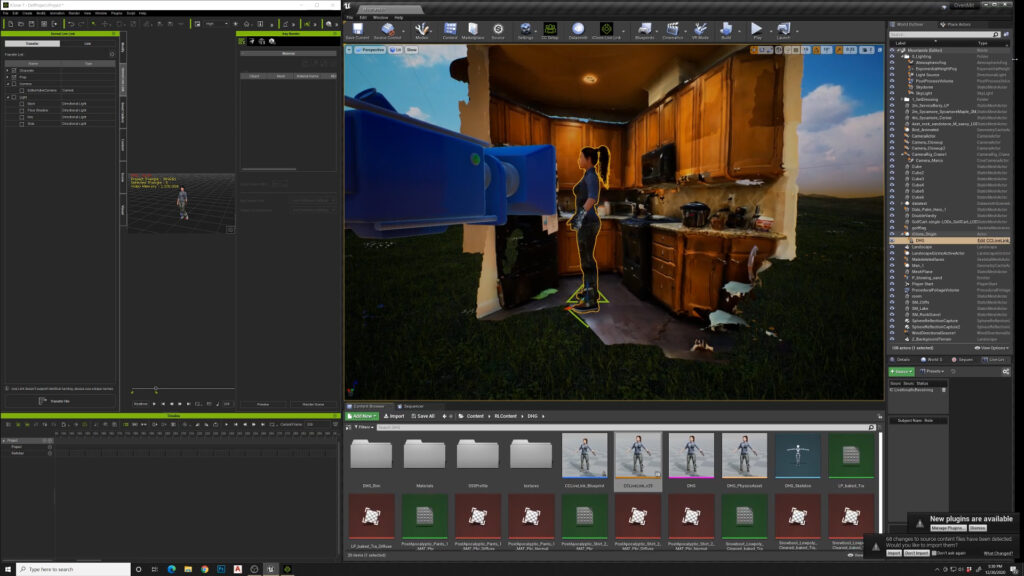
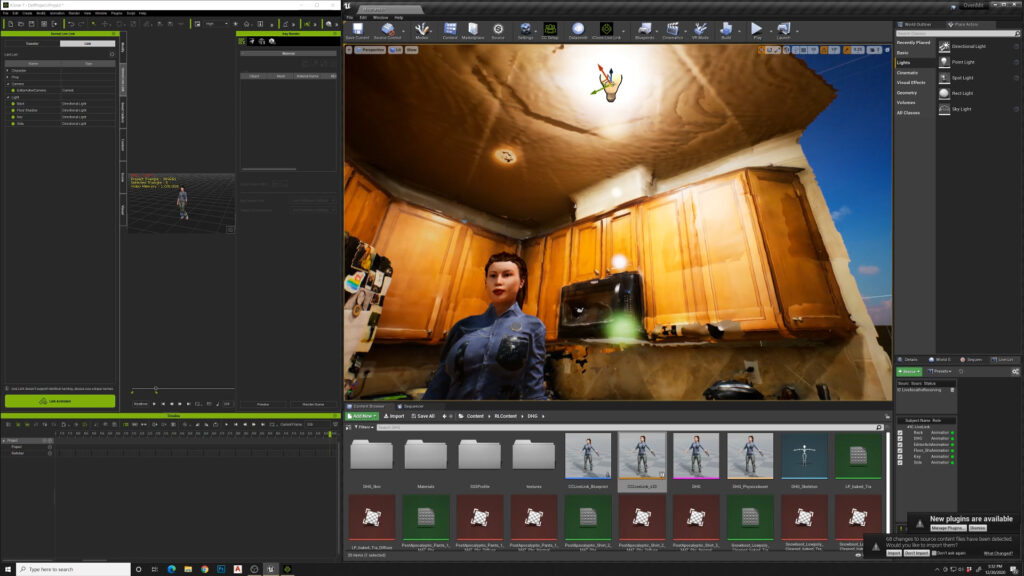
Open unreal engine project. Create a new folder inside. Import. Find the FBX, import that. Look at all these settings, create new materials. This is good and we’ll do an important all. Okay. So we have our object.
We’ll bring that in and I need to flatten out the ground around this. So I’ll do that. Now we can see inside our kitchen space here. It’s already looking kind of interesting. You can see there’s some defects in the scan, but for film previs, this is pretty useful.
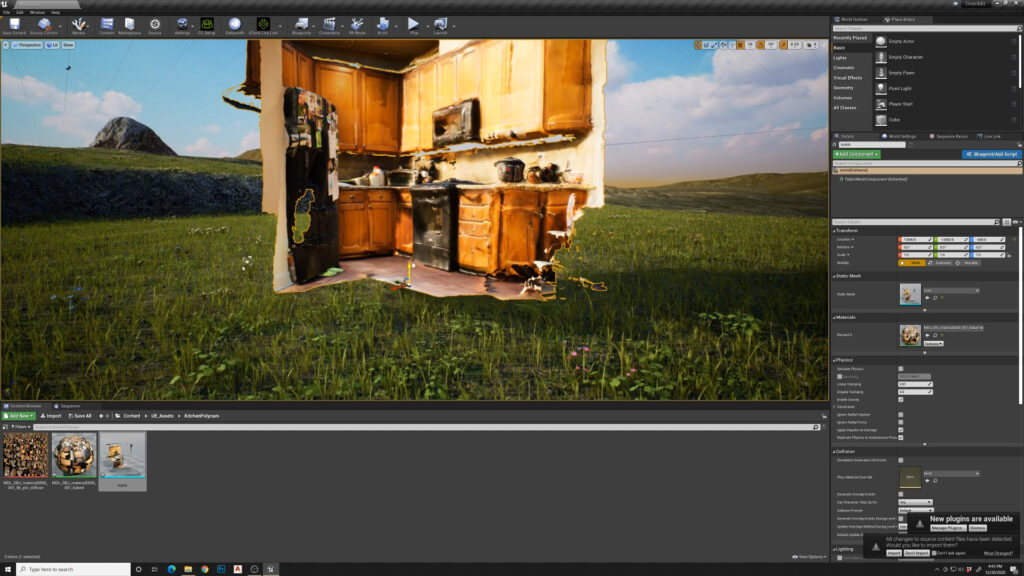
I’ve got to fix some of this camera stuff. I’m going to take the light source down low. Adjust that down a bit, since this interior scene.
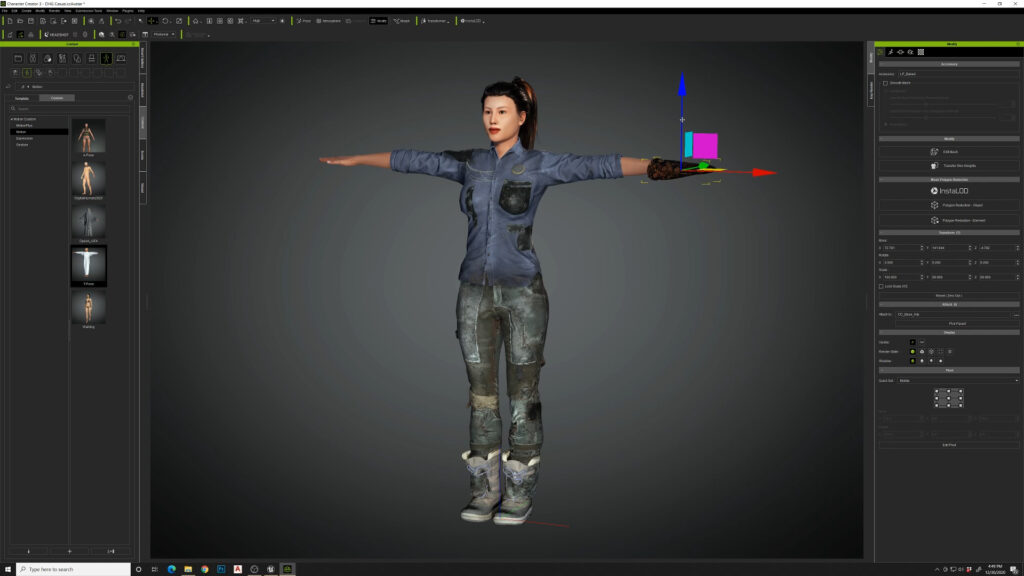
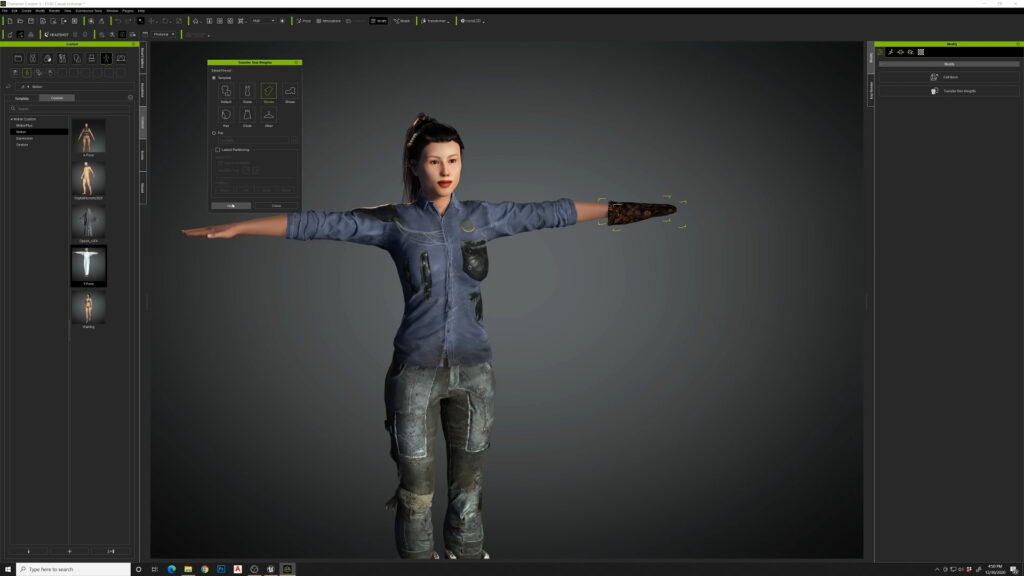
I’m going to open character creator and add my oven Mitt that’s on Sketchfab and transfer weights to the characters hands and assign it as a glove and say, apply.
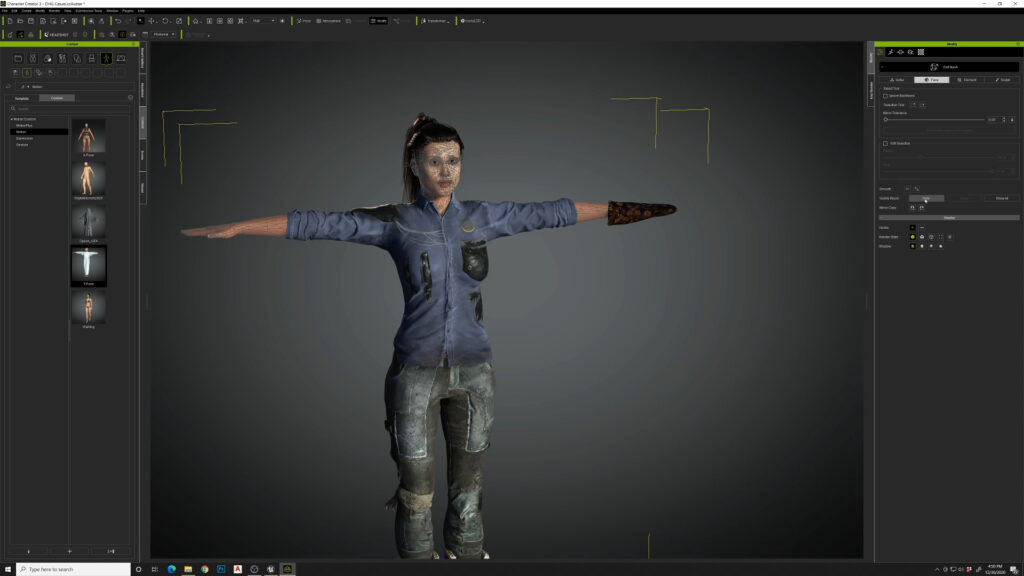
Okay, so now I’m going to just hide the fingers so we don’t getting any poking through the glove. Hide that mesh.
Export this to iClone and add an animation to it.
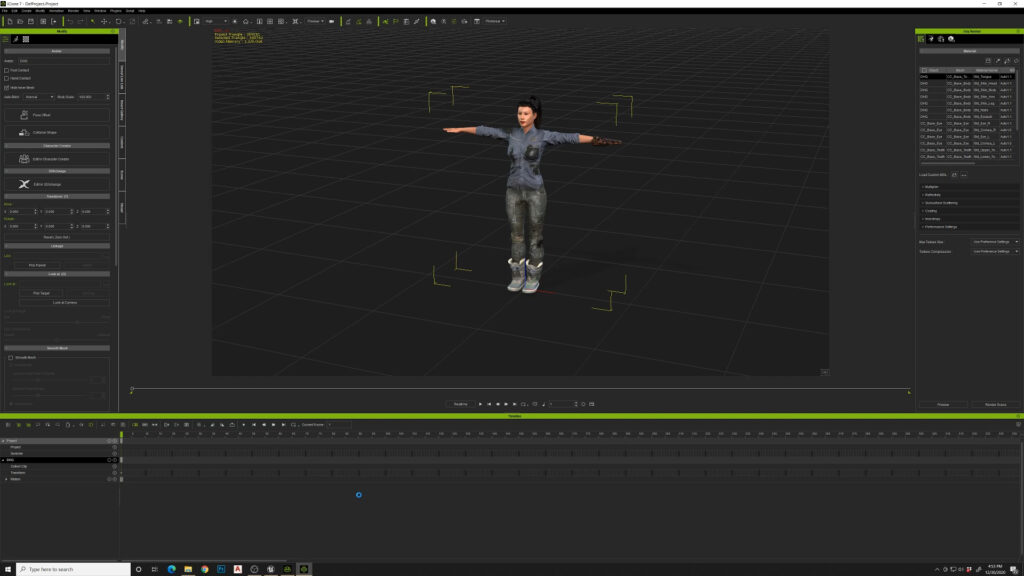
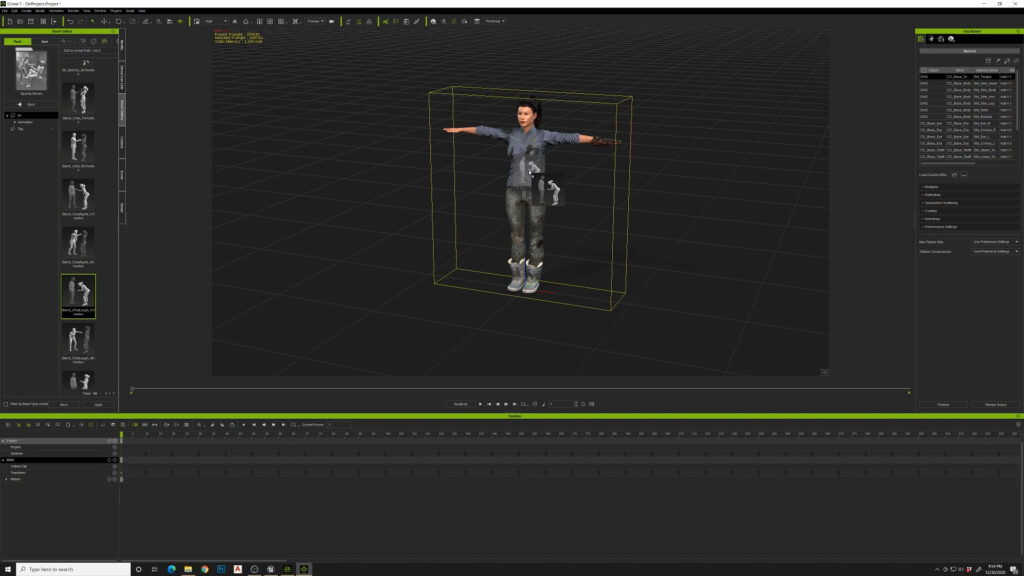
Look at that. We have a person laughing and joking around with her oven mitt. Now we’re going to go to unreal engine and important this iclone origin.

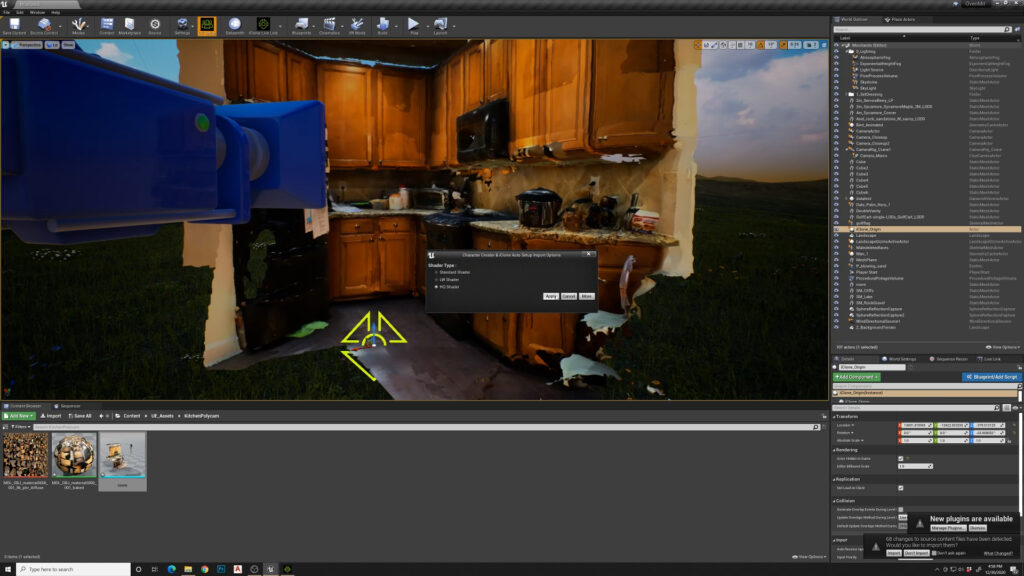
I’m going to move it down into position here.
Basically just have it right on the floor. I want to enable the iclone shader and use a high quality shader.
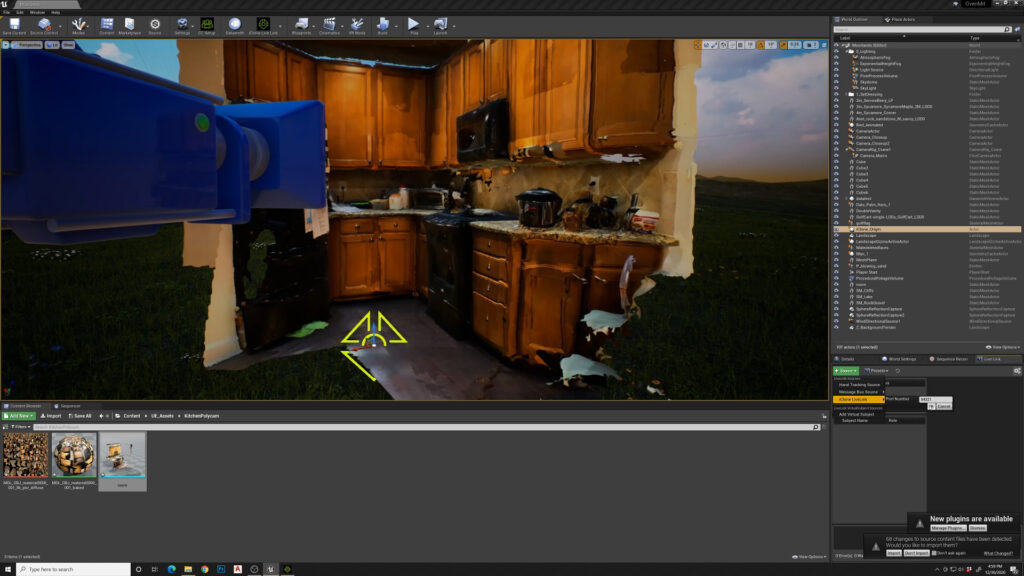
Set up my Reallusion live link.
Go back to iclone, turn some of the cameras and lights off. I don’t want to transfer those over.
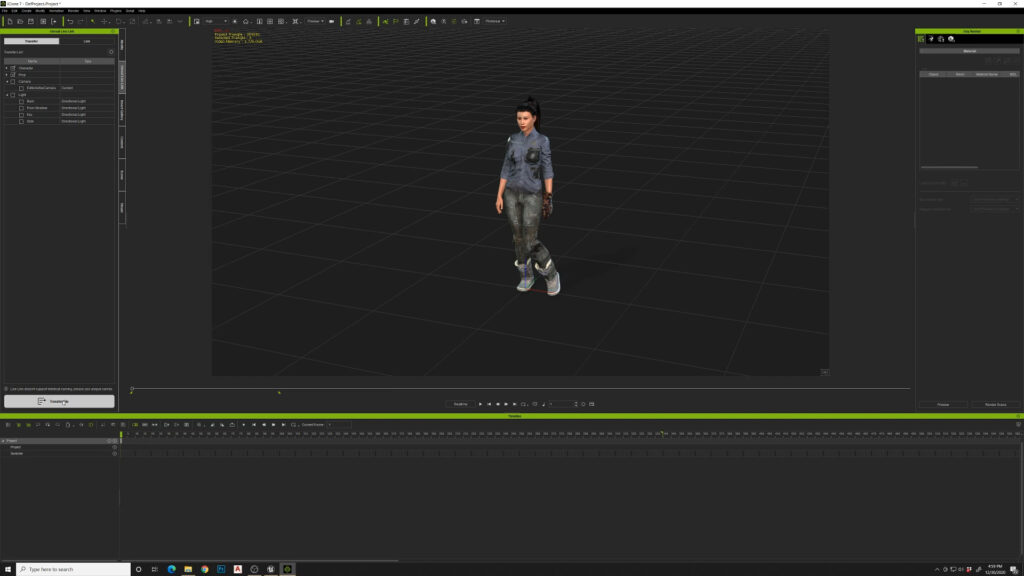
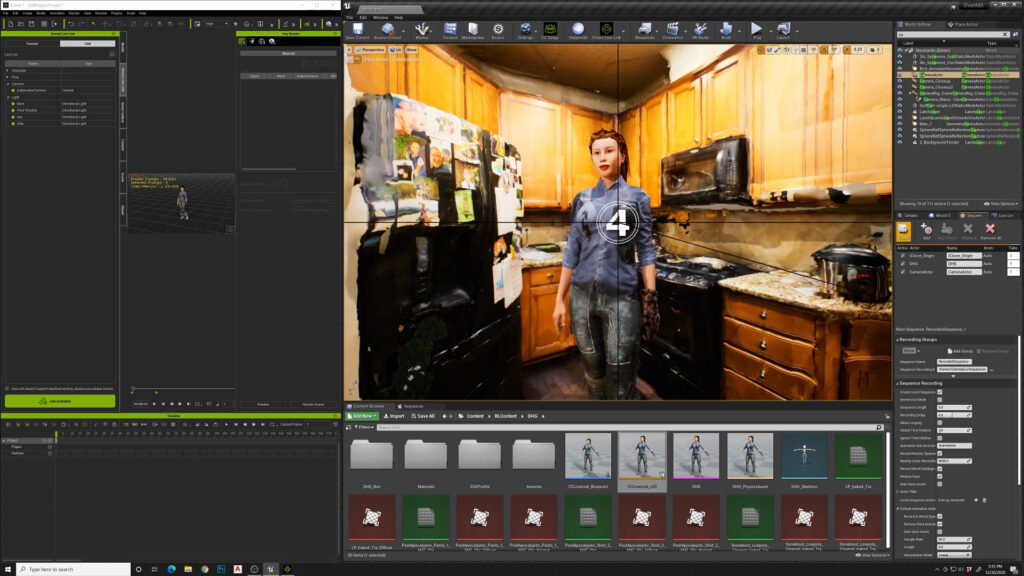
And I got my character. I’ll do a transfer.
This usually takes quite a long time. Once that transfers over we have our lady here. When you link activate, you can see that she is starting to perform the motion. Iclone animation directly into unreal engine.

Play this and she’s moving all around and it looks like it’s good. Iclone runs at 60 frames per second. We want to set up unreal to be the same and record stuff in 60 frames per second. So we have to adjust that once we get a couple of lights in here. We’re going to just change all these lights to movable so we get realtime shadows, without having to bake lighting.
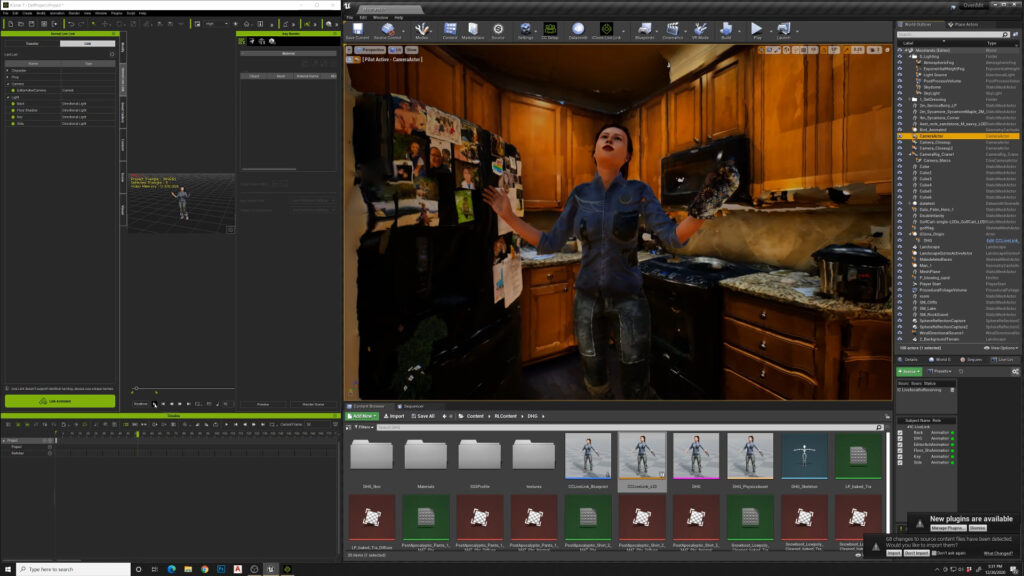
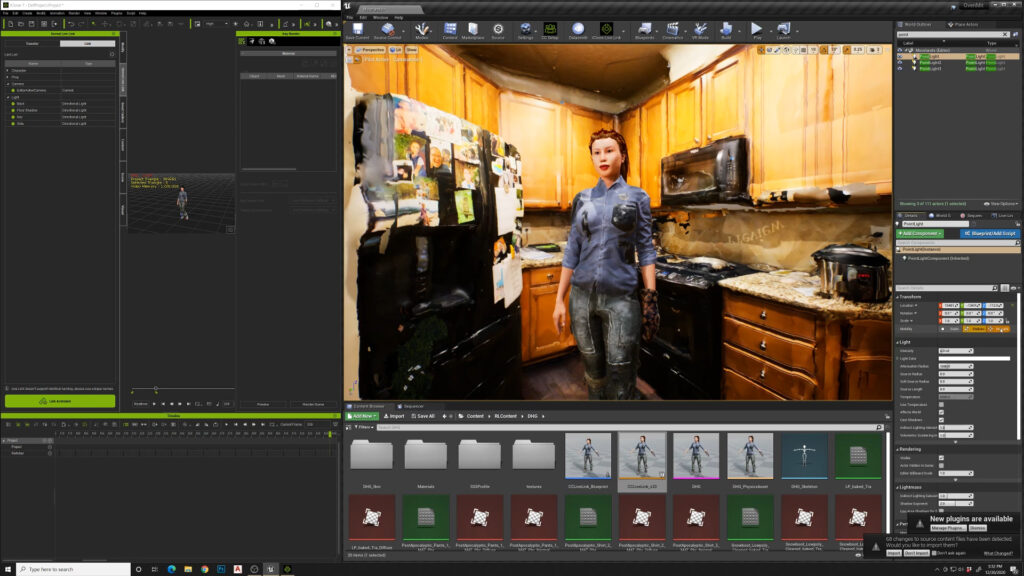

Now they’re rendering in real time. The shadow preview goes away. We’ve got our character. She’s casting shadows on the wall. You can see back behind there.
And all this is done in real time, obviously. I’m going to start to record a sequence. I’m going to add the iclone origin to the sequence recorder. Then I’m going to add the character. I’m going to go down to the settings here and I’m going to change the sample rate to 60.
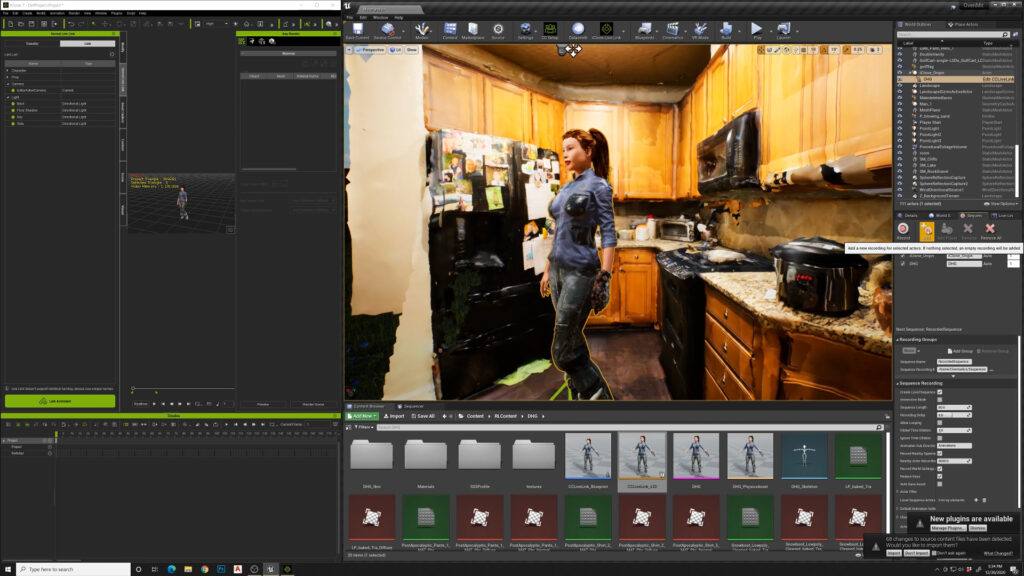
Length to zero
We’ll press record. It’ll give us a countdown and we’ll go over to iclone and we will hit play.
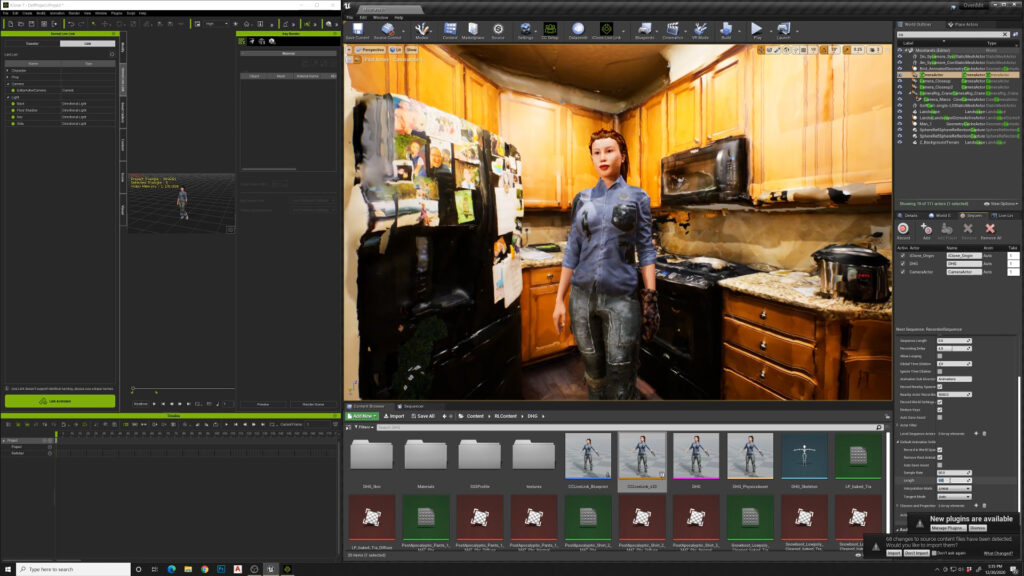
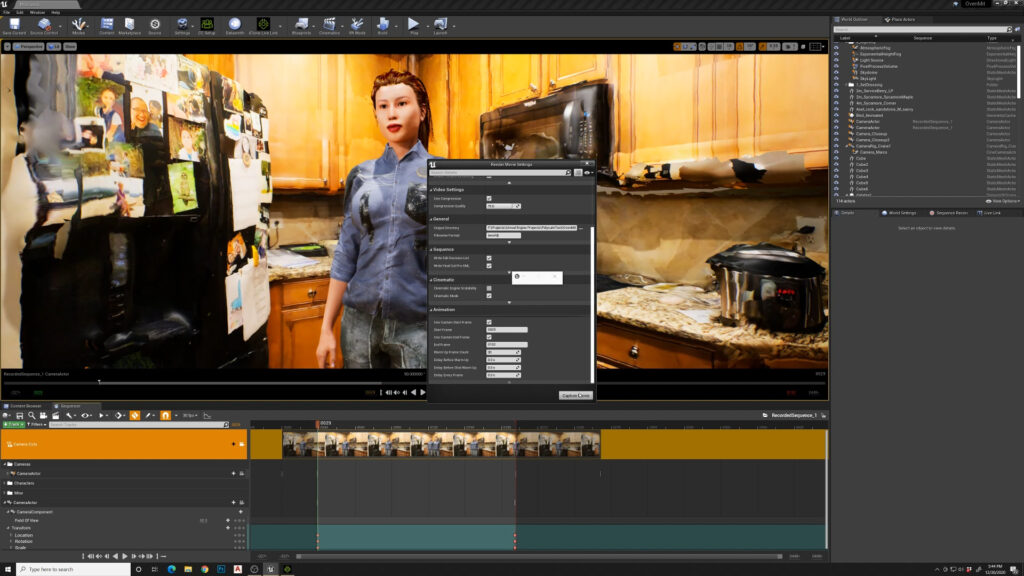
That animation has run through. We’ll stop on unreal and open up the sequence here. Now we’ve got our character animated inside this 3d scan. I’m gonna set the end point, just move that to where you want it, right click set end point and do the same for start point.
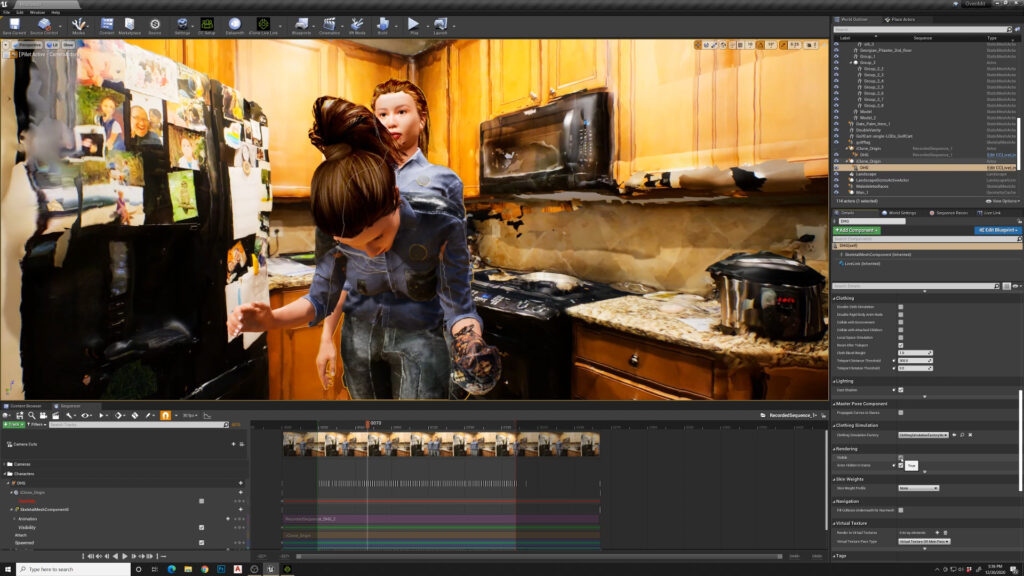
Play this through. When you do this, you’re going to see double characters. In the world outliner there is a character and a character with a lightning bolt. We need to turn off the original character that we were sending from iClone. Now we’ve just got the recorded version here. We’ll add a camera to the sequence.
We’ll add some start key frames, and then I’m just going to do like a little pan on this, something super simple. So this is some of the previs work you could do. You have your scene to scale with a character. Maybe you wanted a particular camera shot for this action, who knows. We’ll render this out.
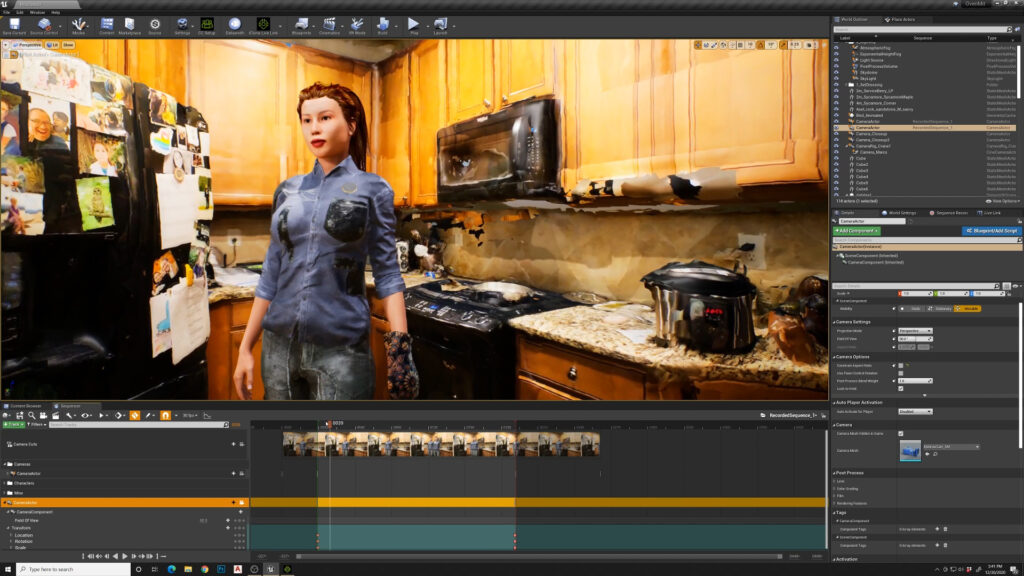
Choose Video AVI, and I’m going to set it to 4k image so it can scale it down. I’ve noticed problems if I do cinematic Scalability. So I turned that off. Shadows disappear and all kinds of weird stuff happens. Under animation, I’m going to set the custom start time to our new one. We set end time as well. I’m going to give it a little startup run frame. Count of 30, and capture movie.
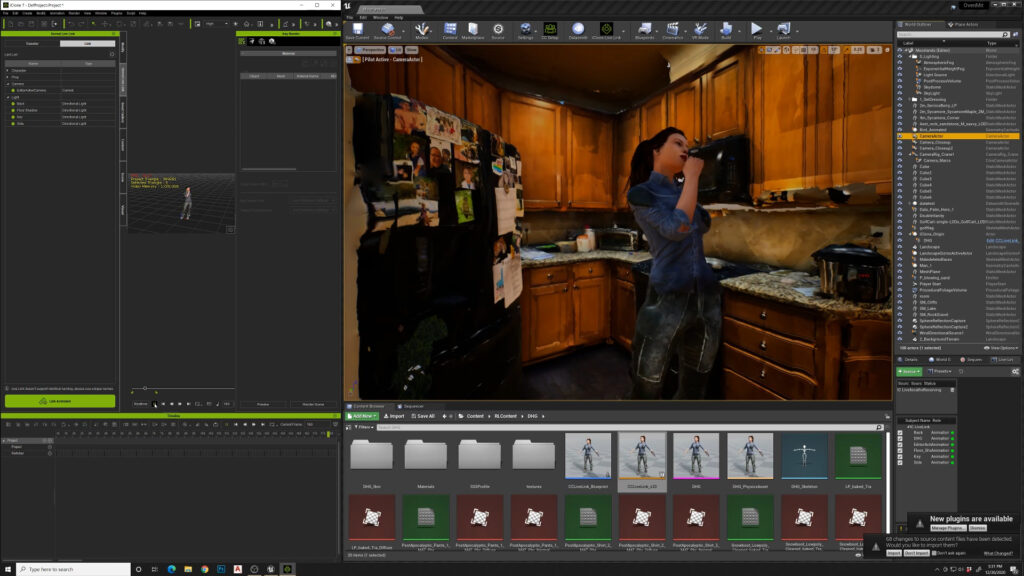
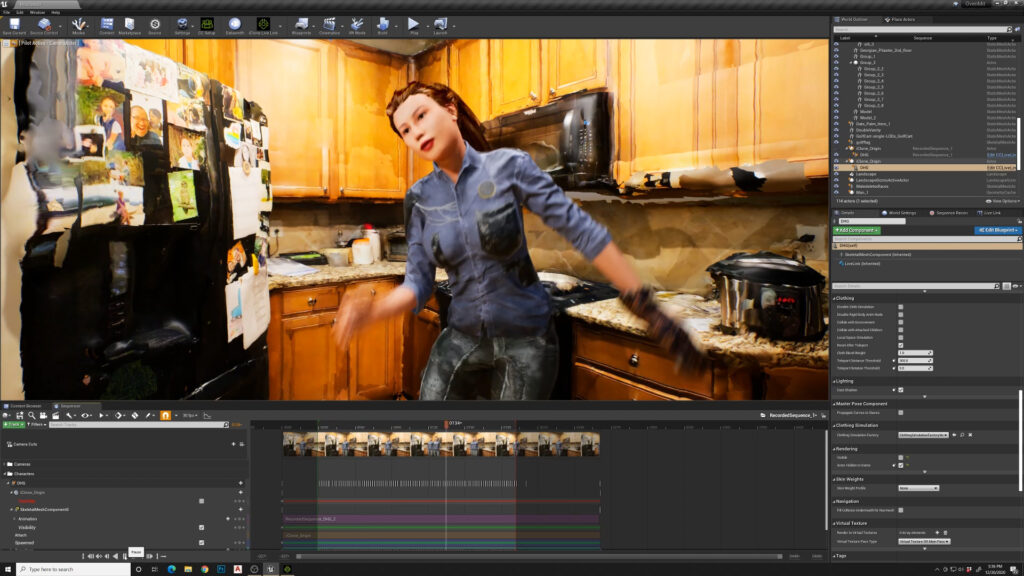
She’s jumping all around having a good time and we have hair physics. It’s going all crazy, all over the place. So you want to be wary of what your hair on your character will do. It’s done!
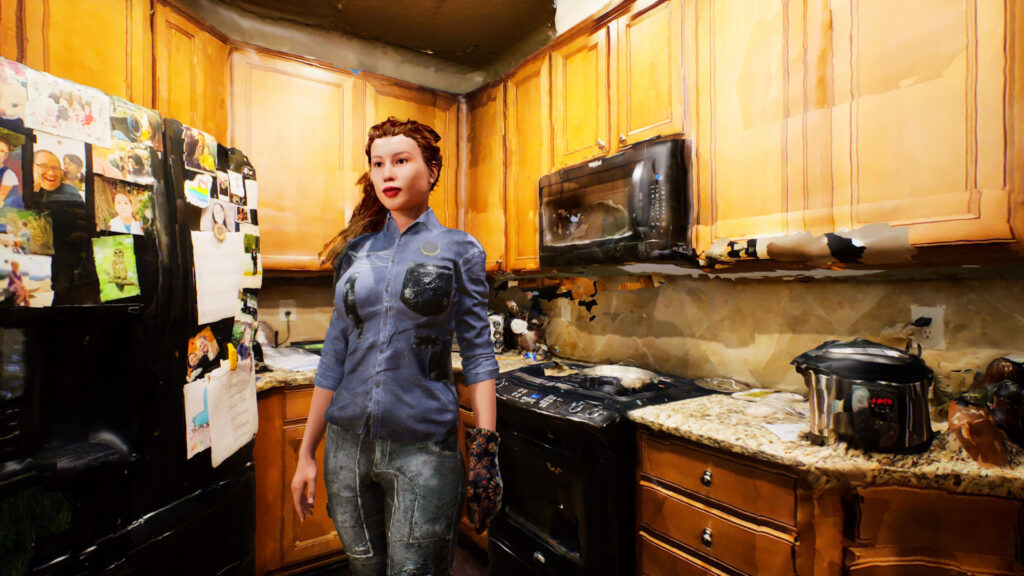
We took a 3d scan of this kitchen, put a character in it, added some props to that character, sent it to iclone from character creator, and then into unreal engine. Recorded a short animation in almost no time. You can see this is going to be a huge evolution for the film industry and previs, this whole LIDAR technology on the iphone and ipad. It’s really super exciting. If you want to see more of this stuff, subscribe if you enjoyed it. Thanks!